Step 1: clarify the requirements
The first question is what the wiring harness has to connect and under what conditions: components and connectors, currents and signals, installation space, temperatures, media, movements and quantities. If a circuit diagram exists, it forms the electrical basis; if not, we work it out together with the customer.
Step 2: cable routing in the 3D model
In EPLAN Harness proD the wiring harness is routed in a 3D model of the installation situation, for example on the basis of the customer's CAD data. Cable lengths, bending radii, branch points and fixings become visible early, before the first sample is built.
Step 3: assembly board drawing and bill of materials
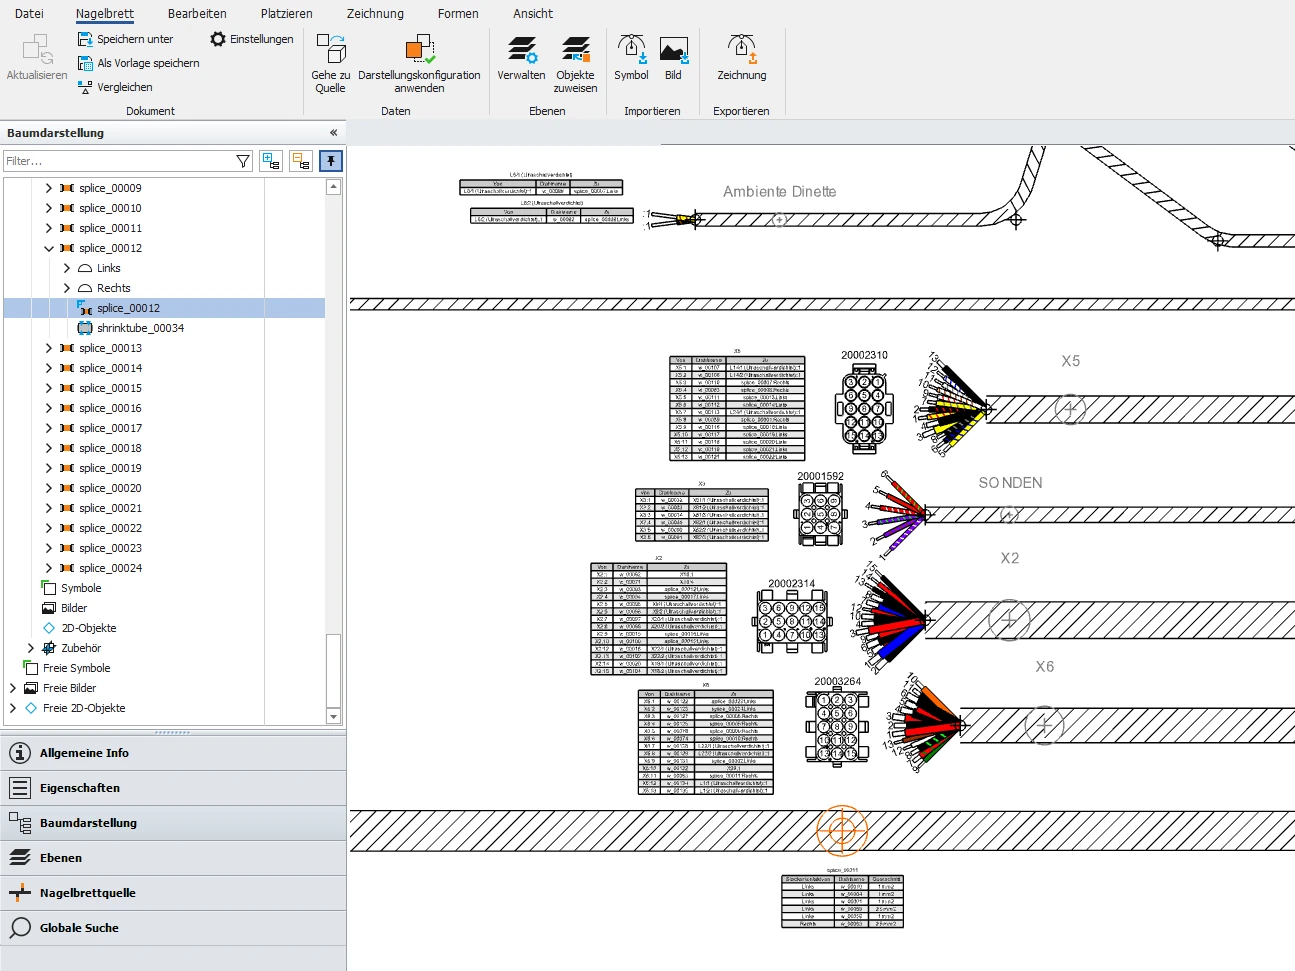
The 3D model yields the 2D drawing for the assembly board (usually to a scale of 1:1) with branch dimensions, connector views, protection and marking. Bill of materials, cutting list and work instructions are derived directly from it. Purchasing and production therefore work with the same data as the design office.
Step 4: sample, changes, series production
The first sample shows whether everything fits. Changes flow back into the model and are documented as a new revision level. After release we continue to support series production, on request with documentation to PPAP.
What digital design delivers
- Fewer sample iterations, because lengths and routing are right early on
- Consistent data from the drawing through to the cutting list
- Traceable revision levels
- Faster quotes and faster series ramp-up
Since 2023 our own CAD design office has worked with EPLAN Harness proD. More under Development & design.